
Here is my process I used for making a Christmas card.
I only had 3 days to make this card so my process was a little rushed.
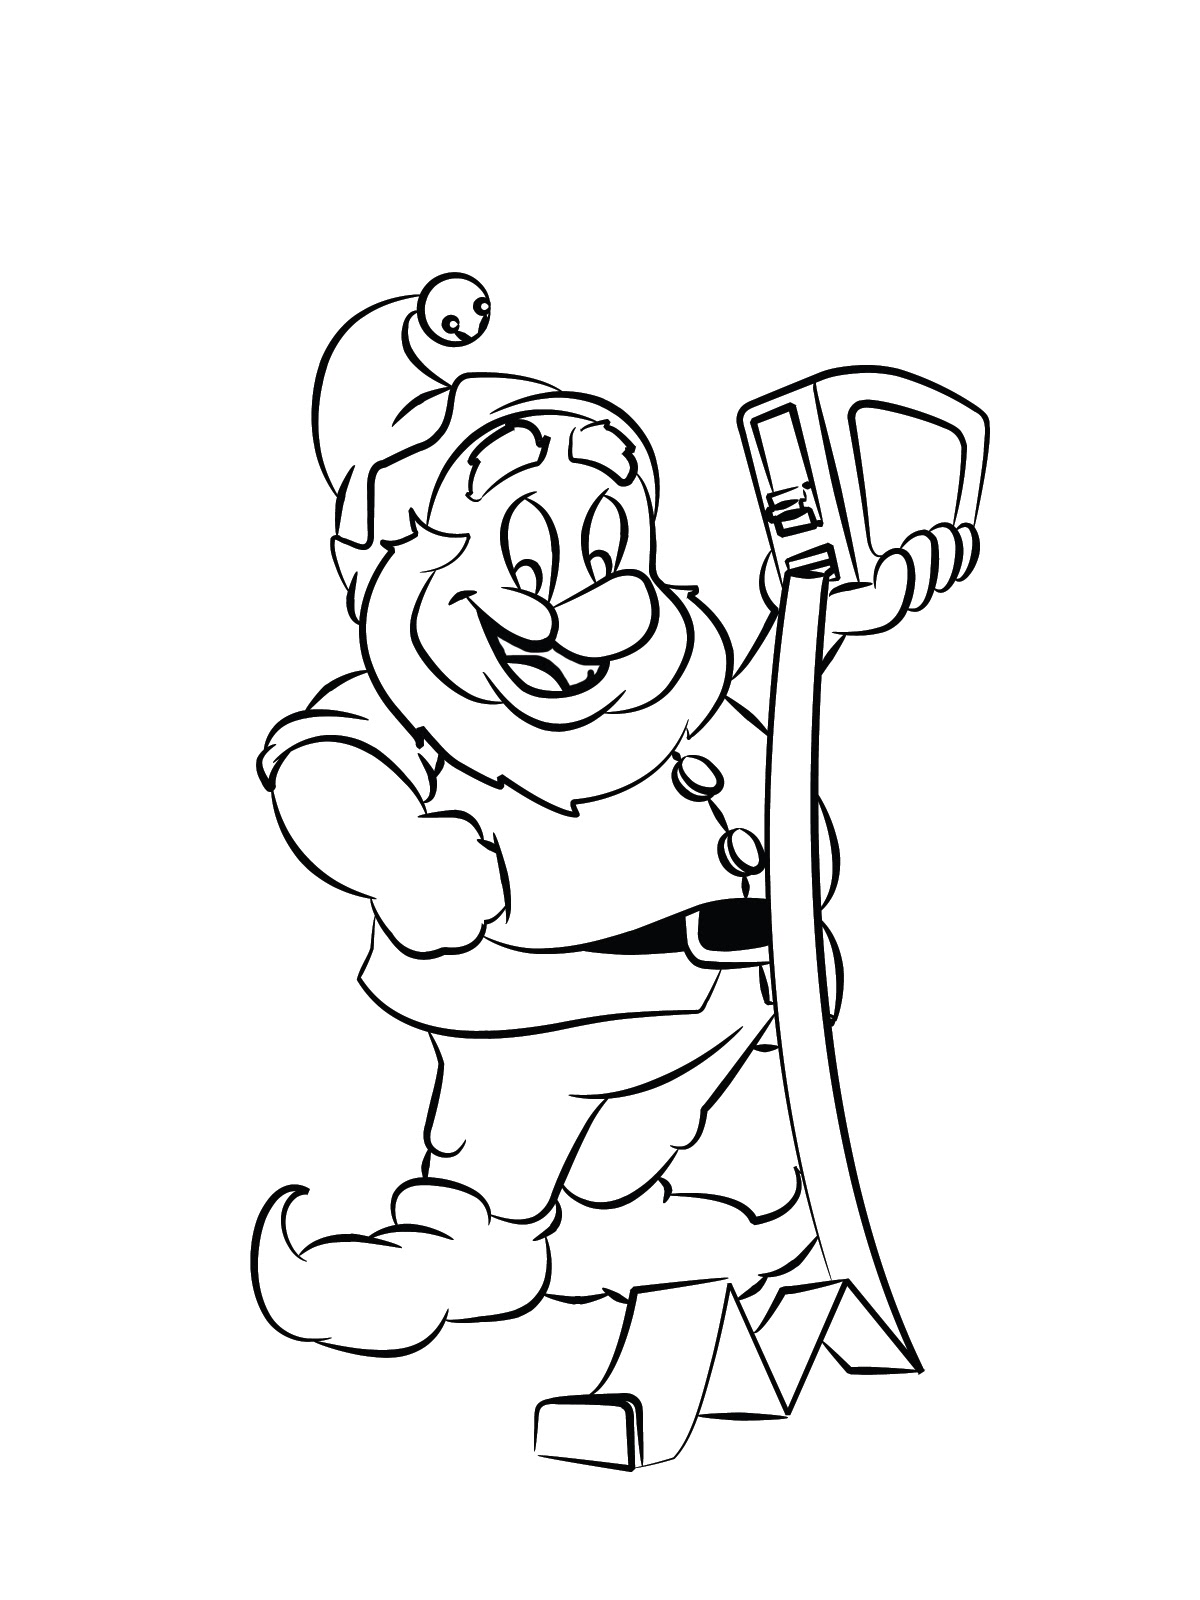
Part 1: Rough sketch.
Normally I make 3 or 4, but for time sake I only did 1.

Part 2: Outline
I outlined my rough in Illustrator. (Just a side note) Since they print the cards I made sure color mode was CMYK learned the hard way last year.

Part 3: New Stroke
The lines looked a little boring to me so I created my own brush and applied a new stroke to them to give them a little weight and more character.

Part 4: Import to Photoshop
Then I took my outline and imported it into Photoshop and made sure all my lines were black. Since I am going to be coloring and doing all the layout in Photoshop this helps speed up the process. (Make sure color mode is CMYK)
Part 5: Ruff color
During my rough sketch I marked up the character with what colors I wanted to use so all I had to do was paint bucket in the color to each section.

Part 6: Shading the character
To add a little depth and weight to the character I went in and shaded him up.

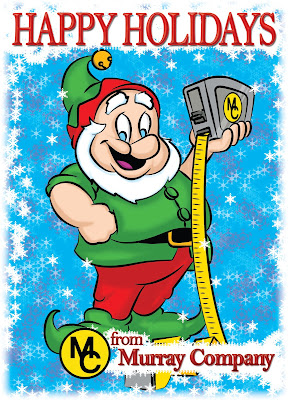
Part 7: Background
Since I didn't have time to illustrate a nice background I took a nice flat blue and added some snowflakes using a snowflake brush. I used 3 different colors to give it a little depth.

Part 8: Final touches
Then I added "Happy Holidays" and the company name with their logos in a Christmas style font. Then created a snowflake and a white blur for the boarder.
No comments:
Post a Comment